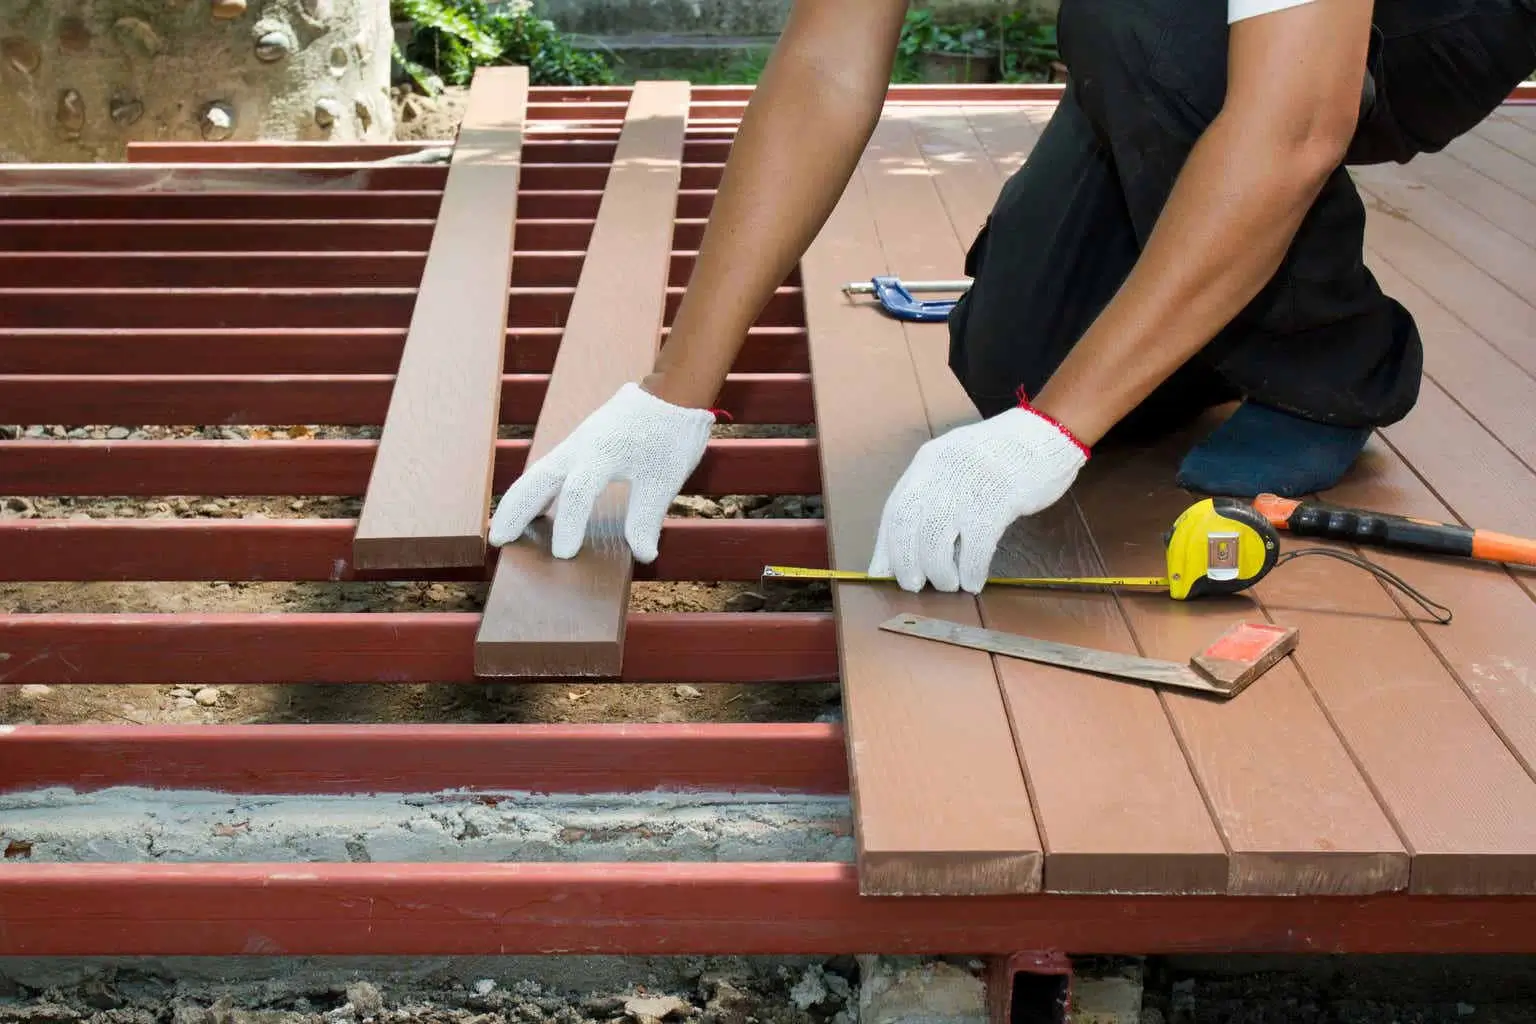
The Ultimate Deck Building Guide
A step-by-step tutorial on planning, framing, and finishing a durable outdoor deck.
See Project ExamplesFrom foundational techniques to finishing touches, find the expert advice you need to get the job done right.
A step-by-step tutorial on planning, framing, and finishing a durable outdoor deck.
See Project Examples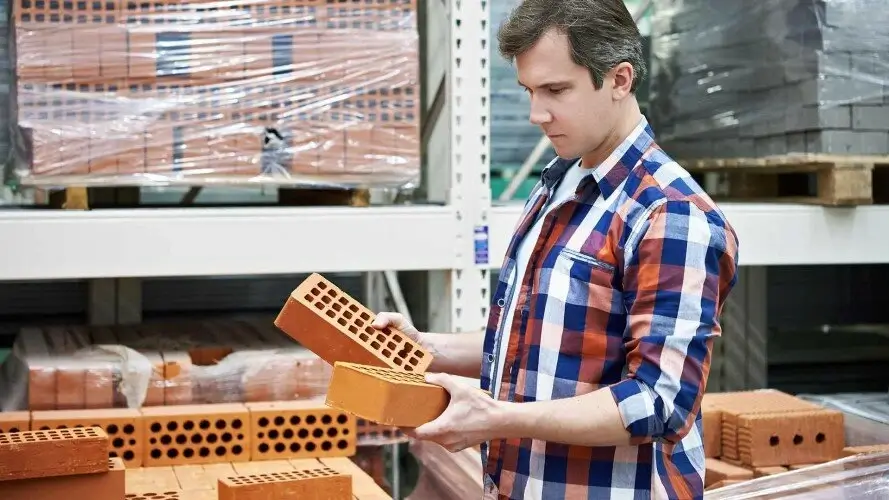
Understand the differences between concrete types to select the perfect mix for your project.
Browse Materials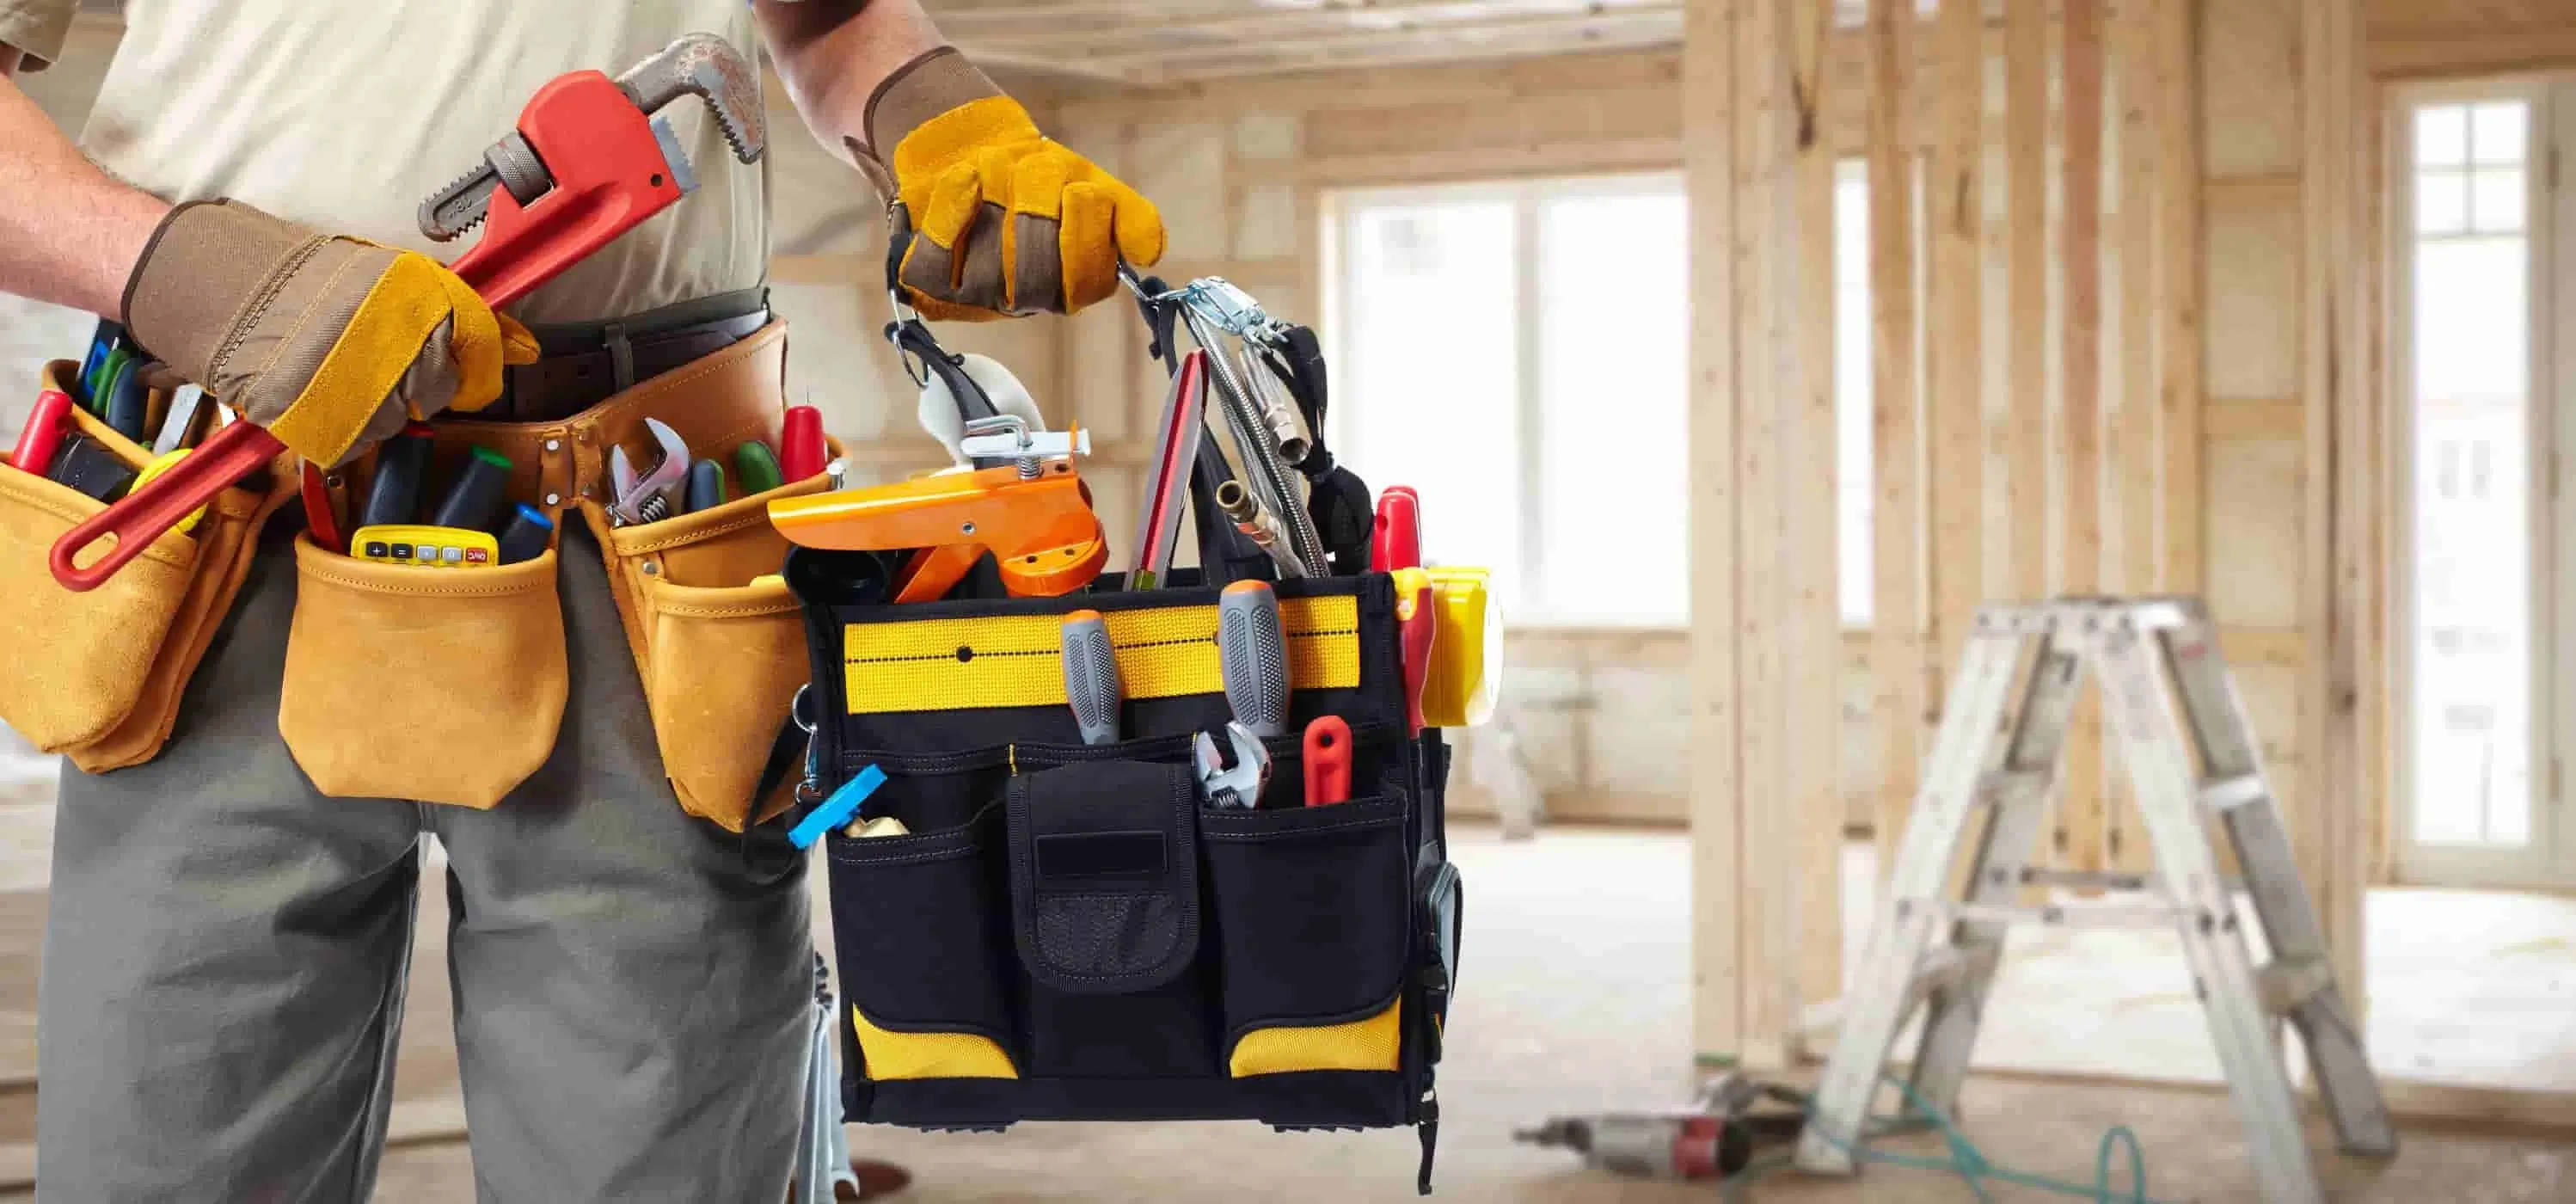
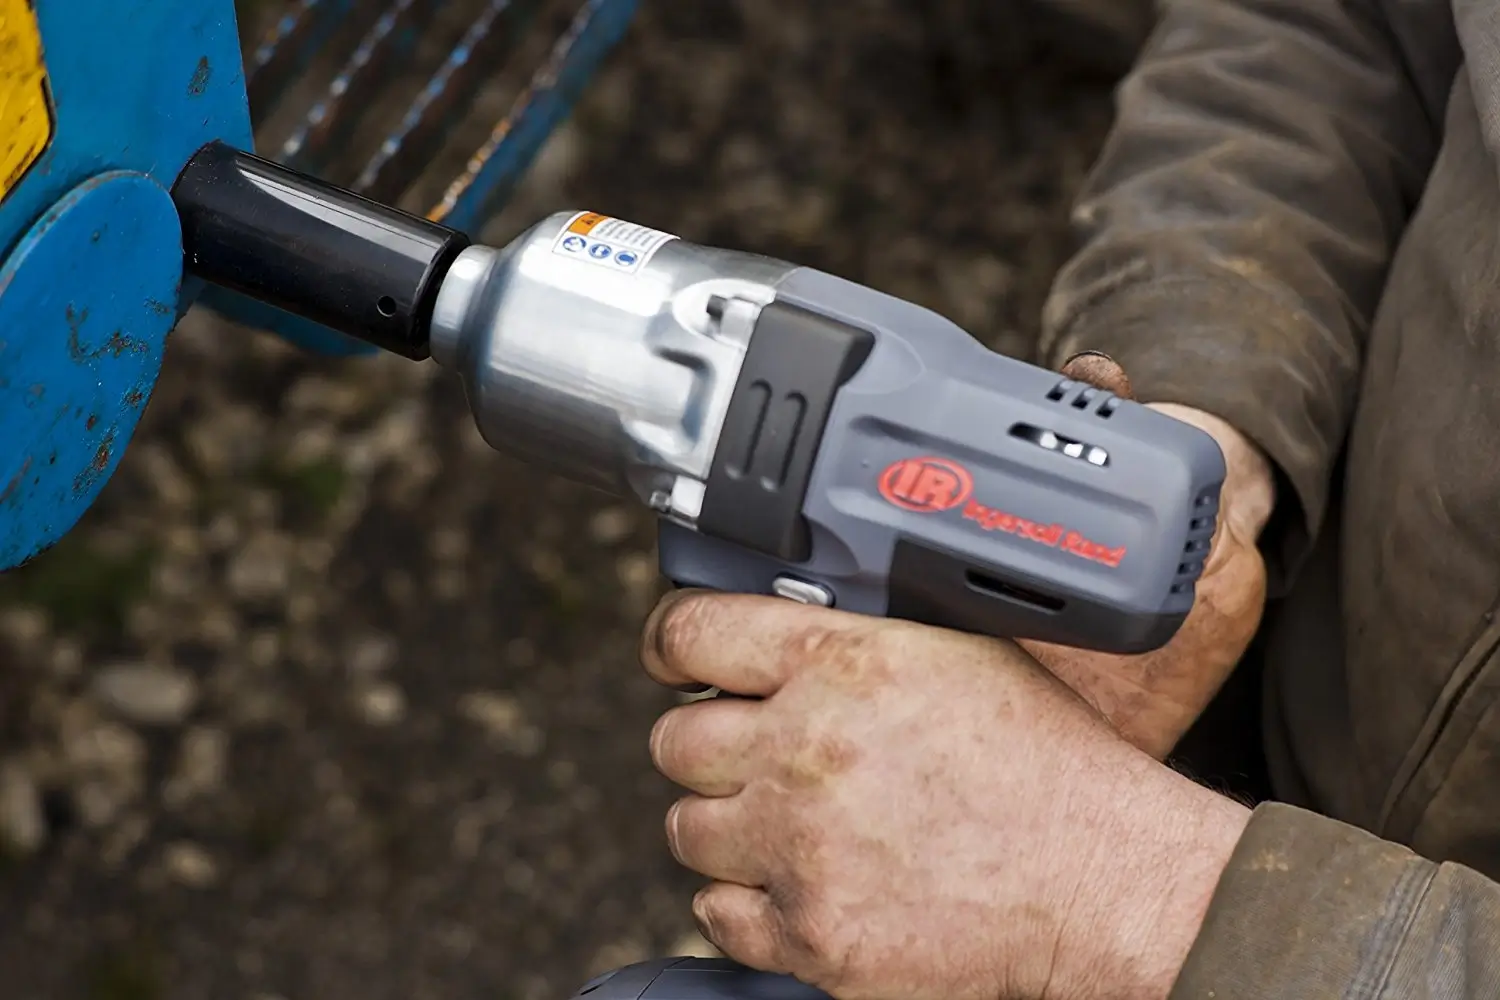
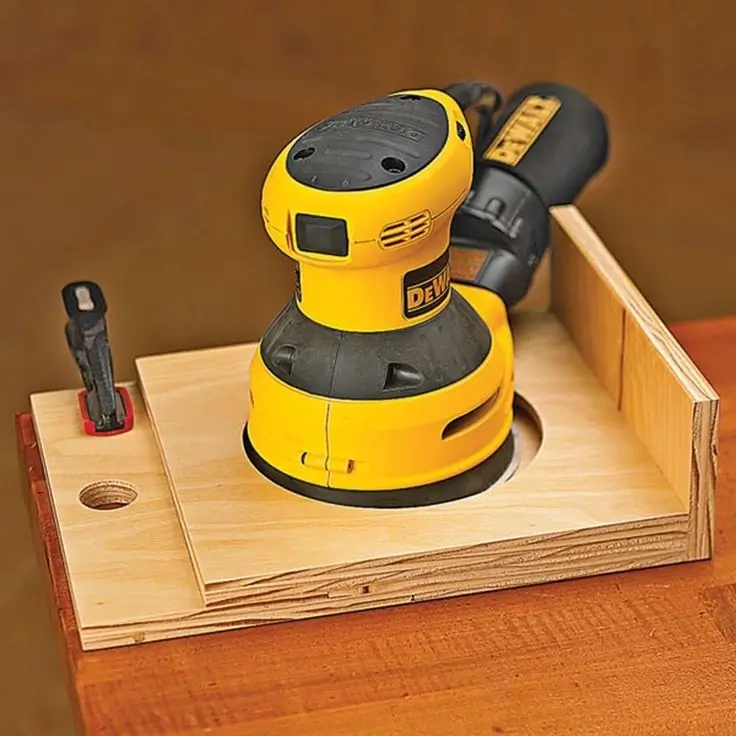
Learn how to clean and store your power tools to extend their life and ensure peak performance.
Shop Power Tools
Discover a range of exciting DIY projects you can tackle in a weekend. Our guides provide clear instructions, material lists, and pro tips to ensure a successful outcome you can be proud of.

The foundation of any great project is the right material. This section breaks down the pros and cons of different options, from various species of lumber to the latest composites. Learn about durability, cost, and sustainability.

Proper tool care is essential for safety, precision, and longevity. Our maintenance guides cover everything from cleaning and lubricating your power tools to sharpening blades and proper battery care. These routines will save you money.
Small adjustments can make a big difference. Here are a few quick tips from our experts.


Choosing screws or nails not rated for your material or environment, like using interior screws on an exterior deck, can lead to premature rust, rot, and dangerous structural failure.
Skipping the crucial steps of cleaning, sanding, or priming before painting or staining inevitably results in poor adhesion, peeling, and a finish that won't last through the seasons.
Failing to check and adhere to local regulations for projects like decks, sheds, or additions is a costly that can result in hefty fines, project tear-downs, and safety hazards.
A simple measurement error can cascade into wasted materials, budget overruns, and ill-fitting components. Always remember the golden rule: measure twice, cut once.
In roofing and insulation projects, overlooking proper ventilation can trap moisture, leading to mold, rot, and reduced energy efficiency. It's a critical step for a healthy building envelope.
Reclaimed materials, like old barn wood or salvaged bricks, add unique character but require special handling. Always inspect for pests, nails, and structural integrity before use. De-nailing is crucial for safety. When cutting, use a blade you don't mind dulling. Remember that dimensions can be inconsistent, so measure each piece individually rather than batch-cutting. Finally, choose a finish that celebrates the material's history, rather than hiding it.
Identifying and properly handling load-bearing walls is critical for any structural renovation. These walls support the weight of the roof and upper floors. Signs of a load-bearing wall include perpendicular joists resting on top of it or solid support structures directly beneath it in a basement or crawlspace. Never remove or alter a load-bearing wall without consulting a structural engineer to design appropriate temporary supports and a permanent header or beam to carry the load.
A proper vapor barrier is essential for preventing moisture damage within your walls, especially in climates with extreme temperature differences. The barrier, typically a plastic sheeting, should be installed on the warm side of the insulation (the interior side in cold climates). Ensure all seams are overlapped and sealed with construction tape. Pay close attention to sealing around outlets, windows, and other openings to create a continuous, unbroken envelope that protects the wall cavity from condensation.
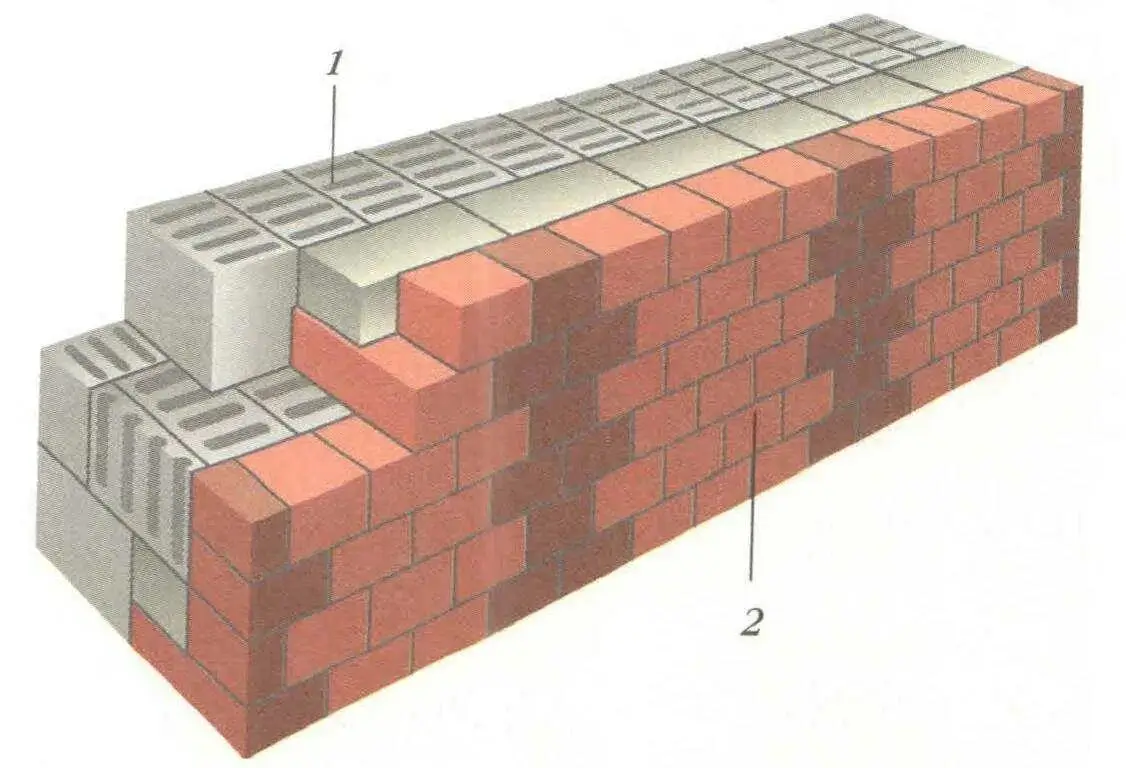
Not all mortar is the same. The type of mortar you choose should be based on the strength of the brick or stone you're using. A common mistake is using a modern, high-strength Portland cement mortar on older, softer bricks. The mortar should always be softer than the masonry unit itself. If the mortar is too hard, it can cause the faces of the bricks to spall or break over time as the building settles. For historic restoration, a lime-based mortar is often required.
Clearly outline your project goals, budget, and timeline. A good plan is the foundation of success.
Create a comprehensive list of all materials and tools needed. Double-check quantities.
Acquire all necessary Personal Protective Equipment (PPE) like gloves, goggles, and masks.
Ensure your workspace is clean, safe, and ready for construction before the first material arrives.
Your well-being on the job site is paramount. Always use the correct Personal Protective Equipment (PPE) for the task at hand. We stock a full range of certified safety gear.
Browse Safety Gear